Exploring the User Interface
This section explains how to use the istSOS4 user interface to create and connect the entities required for a sensor configuration.
The user interface lets us work with the platform visually, without sending API requests manually. In this workflow, we will create and associate the main SensorThings entities:
- Thing
- Location
- Sensor
- Observed Property
- Datastream
By the end of the tutorial, the selected sensor group will be fully configured and ready to receive observations.
User Interface Overview
The istSOS4 user interface provides access to the available services and resources through a web-based environment.
Using the interface, we can inspect existing entities, create new ones, and manage their relationships through a guided workflow. This helps us understand how the different parts of the SensorThings data model are connected.
For this tutorial, open the user interface at: https://istsos.org/gui
Login
Sign in to the user interface using the administrator credentials:
- Username:
admin - Password:
admin
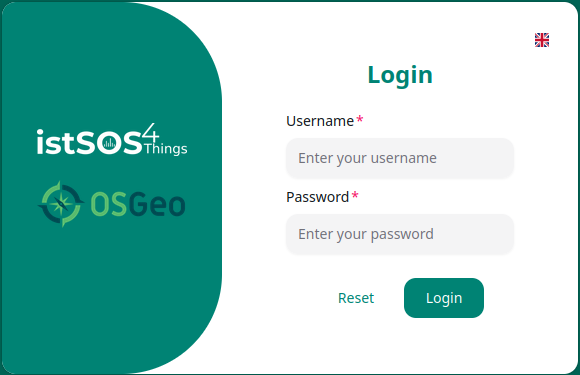
After logging in, the main dashboard is displayed.
From the dashboard, we can start creating the entities associated with our sensor group.
Create the Sensor Entities
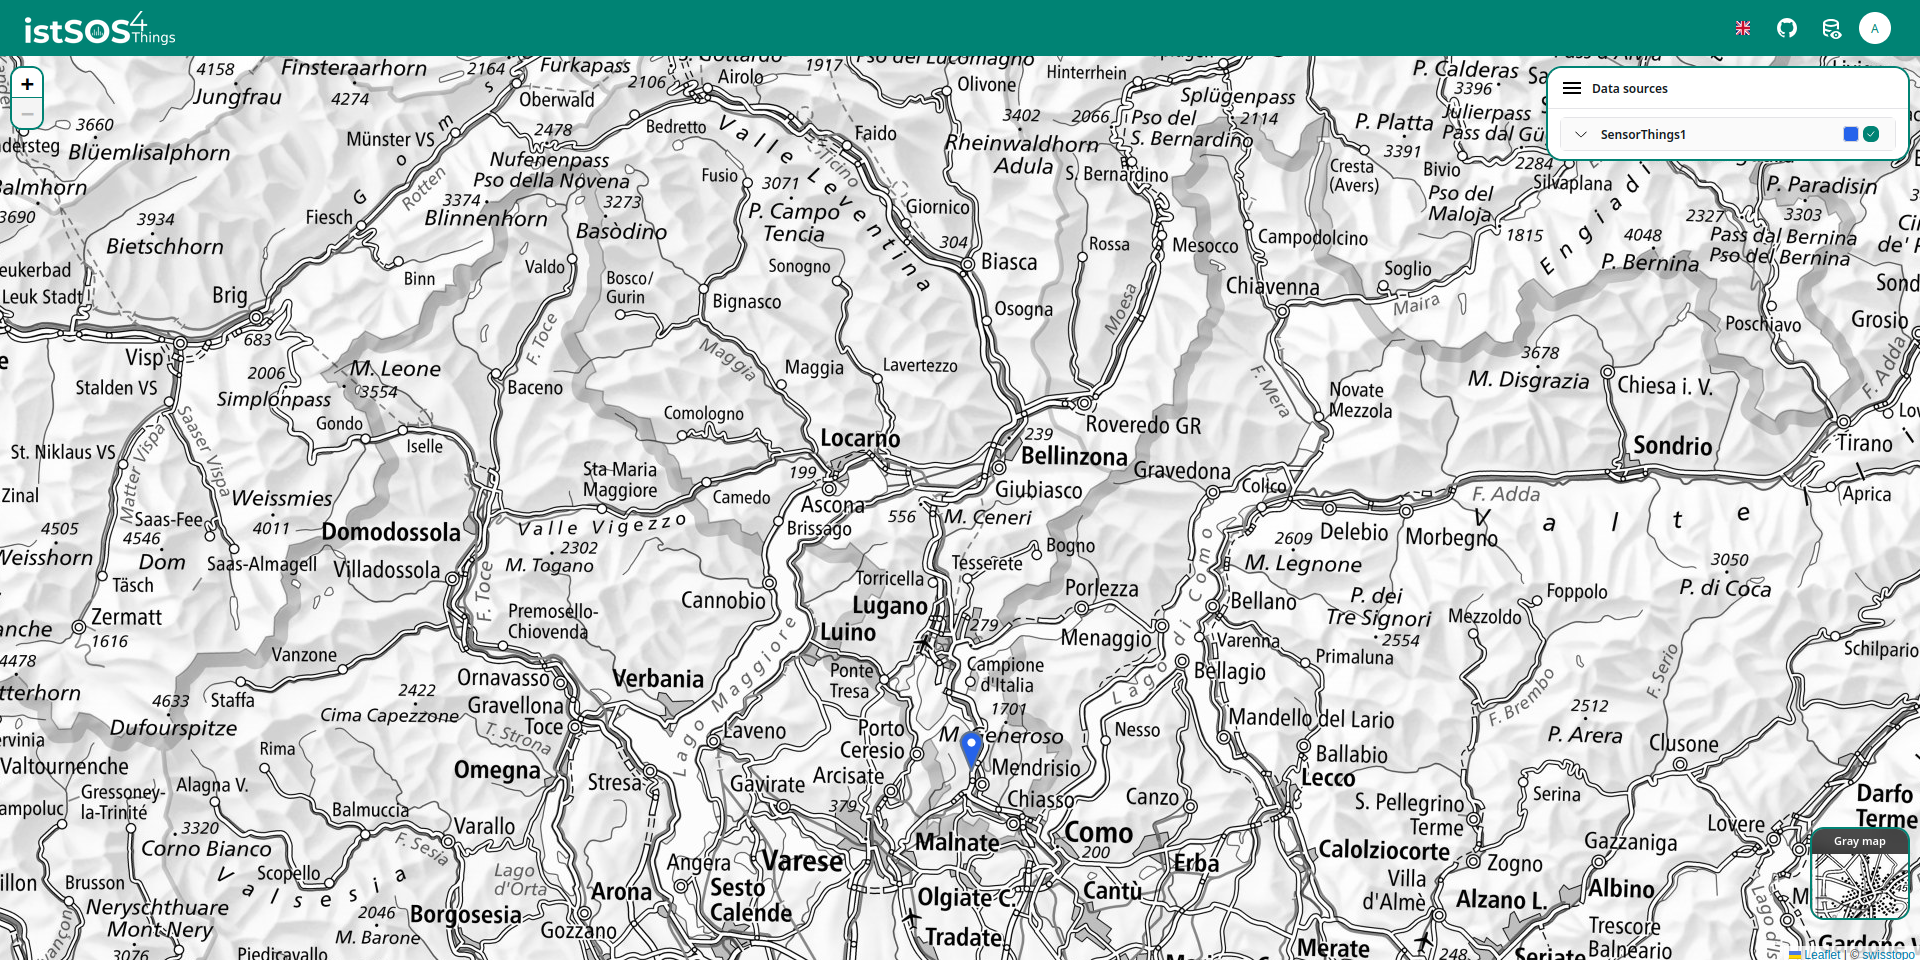
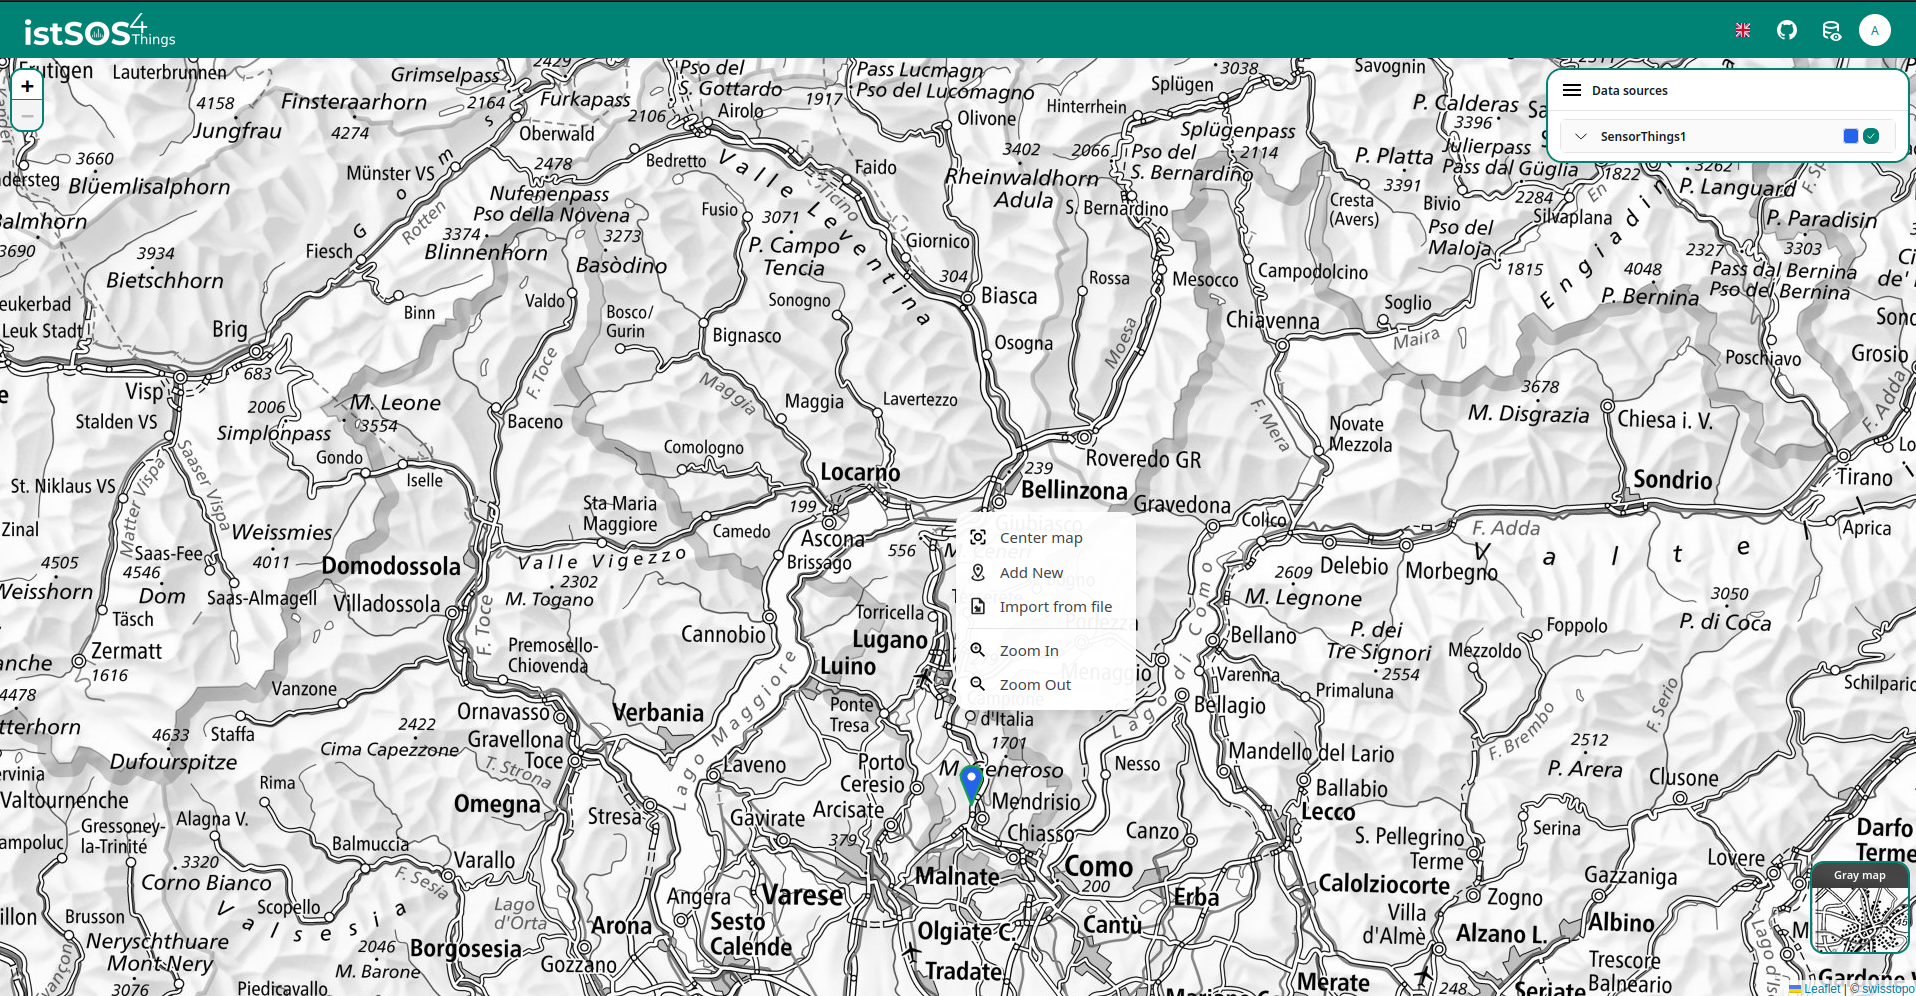
To create a new set of entities, start from the map.
Right-click on the map to open the context menu, then select Add New.
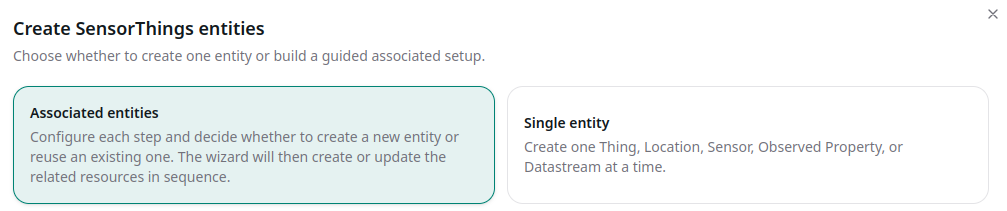
The creation wizard opens. For this tutorial, keep Associated Entities selected.
This option allows us to create or select the entities related to the sensor step by step.
Create the Thing
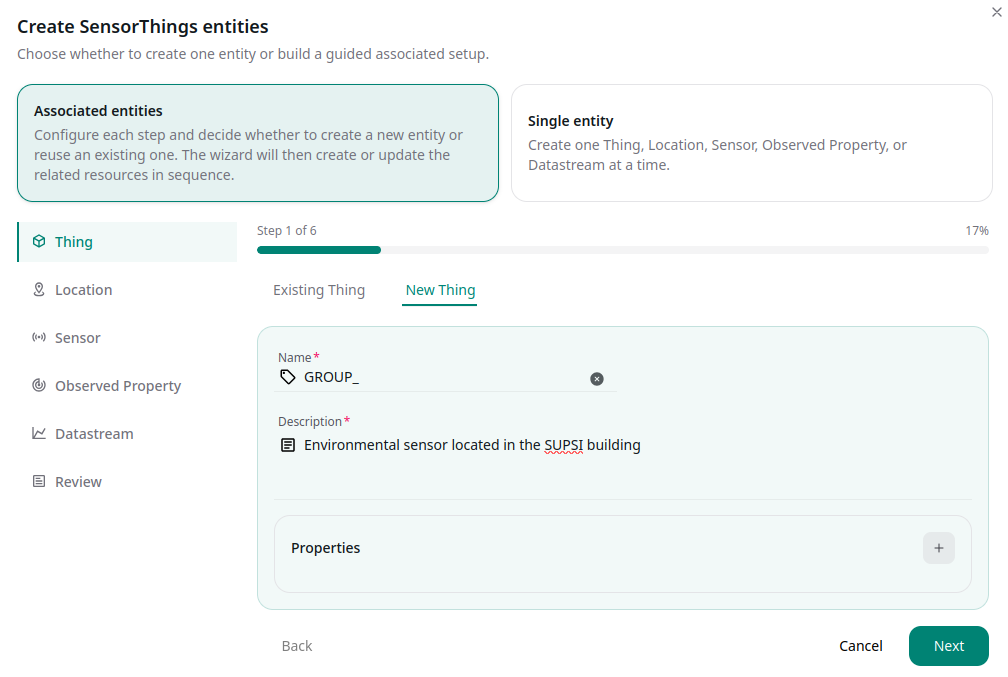
The first entity to configure is the Thing.
A Thing represents the physical or logical object associated with the observations. In this tutorial, it represents the sensor group that we are going to configure.
Select New Thing and complete the fields as follows:
- Name:
GROUP_<number> - Description:
Environmental sensor located in the SUPSI building
The <number> must match the number of the selected SENSOR_<number>.
For example, if you are working with SENSOR_3, the Thing name should be:
GROUP_3
After completing the fields, click Next.
Select the Location
Next, associate the Thing with a Location.
For this tutorial, use the existing Location that represents the room. From the selection list, choose:
SUPSI
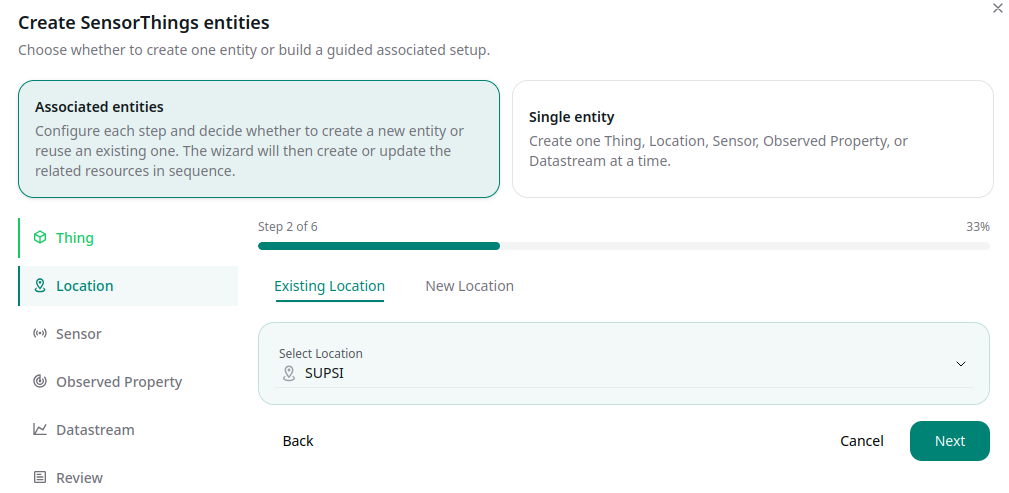
After selecting the Location, click Next.
Create the Sensor
Now configure the Sensor.
The Sensor describes the device or procedure used to produce the observations. In this case, we are creating the sensor associated with the internal temperature measurement.
Select New Sensor and complete the fields as follows:
- Name:
GROUP_<number>_INTERNAL_TEMPERATURE_SENSOR - Encoding Type:
application/json - Metadata:
IT - Description:
Internal temperature channel of GROUP_<number>
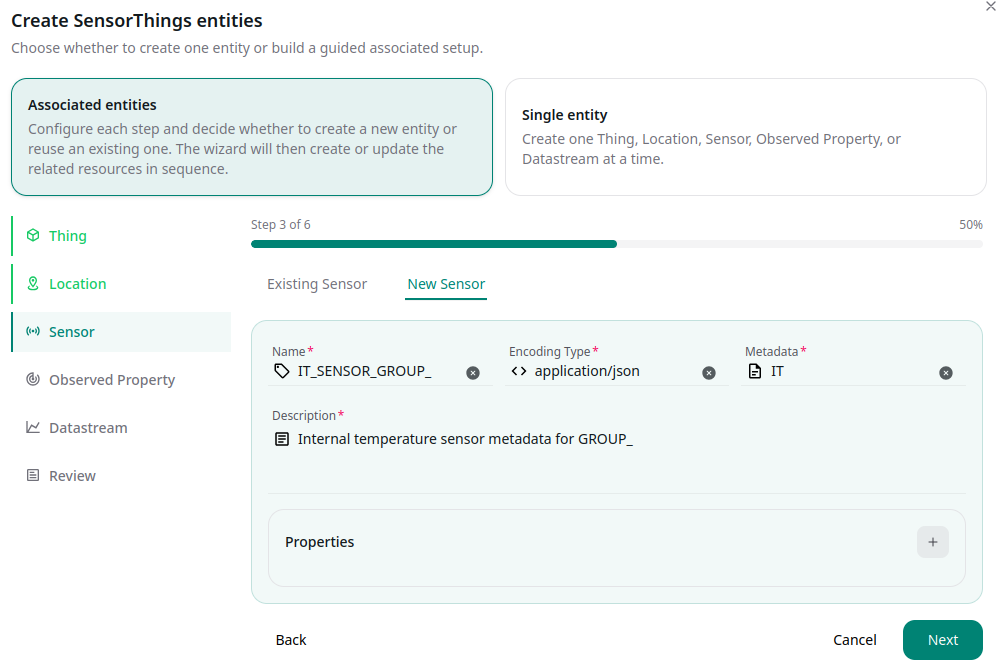
After completing the Sensor information, click Next.
Select the Observed Property
The Observed Property defines what the Sensor measures.
For this tutorial, select the existing Observed Property:
internal:temperature
This property is used because the sensor we are configuring measures internal temperature.
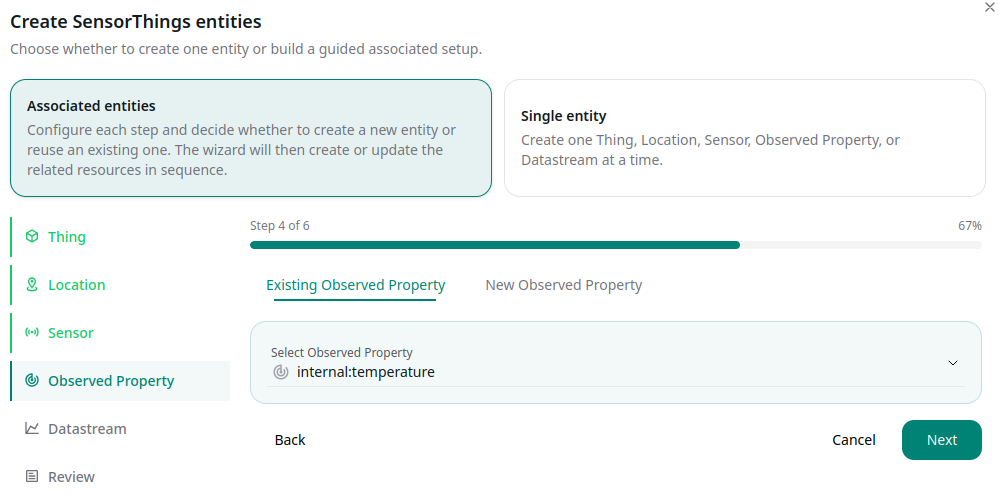
After selecting the Observed Property, click Next.
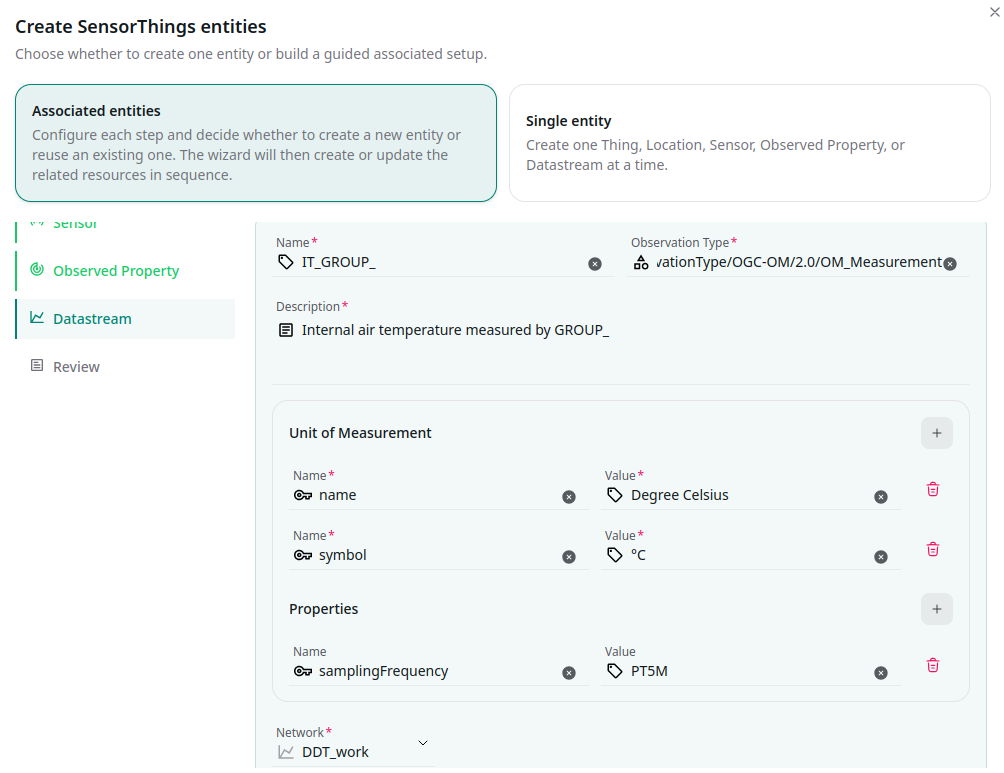
Create the Datastream
The next step is to create the Datastream.
A Datastream connects the Thing, Sensor, and Observed Property. It describes the stream of observations collected for a specific measured property.
Select New Datastream and complete the fields as follows:
- Name:
INTERNAL_TEMPERATURE_GROUP_<number> - Observation Type:
http://www.opengis.net/def/observationType/OGC-OM/2.0/OM_Measurement - Description:
Internal air temperature measured by GROUP_<number> - Unit of Measurement:
- Name:
name - Value:
Degree Celsius - Name:
symbol - Value:
°C
- Name:
- Properties:
- Name:
samplingFrequency - Value:
PT5M - Network:
DDT_network
After completing all Datastream fields, click Next.
Review and Finish
In the Review section, check the entities that will be created or associated.
Before completing the process, verify that:
- the Thing uses the correct group number;
- the Location is set to
SUPSI; - the Sensor refers to the internal temperature channel;
- the Observed Property is set to
internal:temperature; - the Datastream is connected to
DDT_network.
Then enter a Commit Message that clearly describes the operation, for example:
INTERNAL_TEMPERATURE for GROUP_<number>
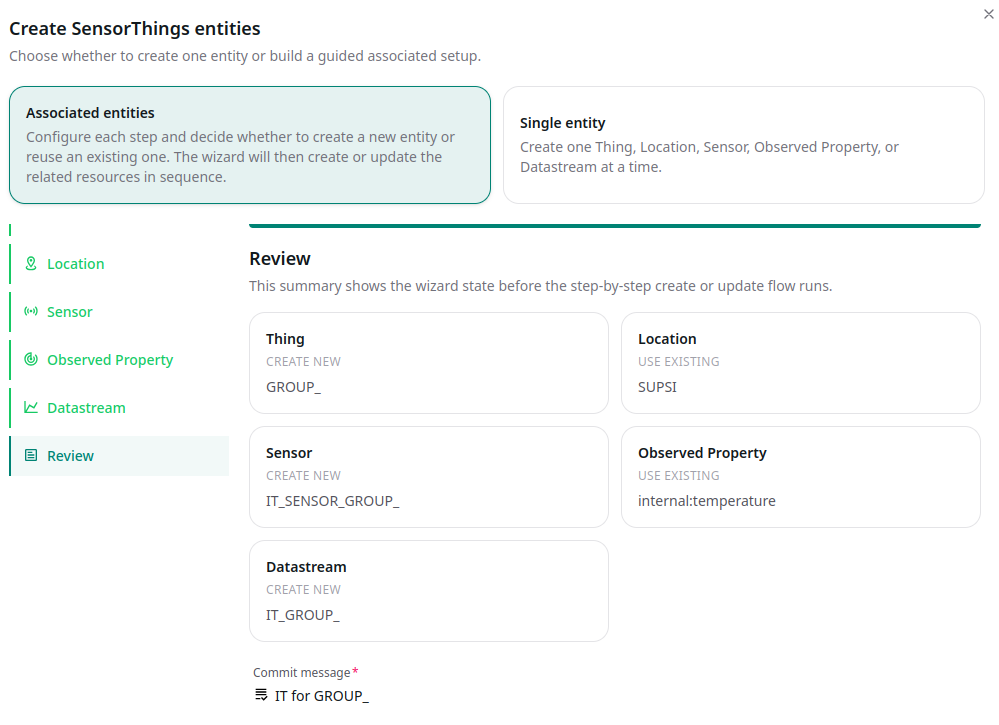
After reviewing the configuration and entering the commit message, click Finish to complete the creation process.
Create the Remaining Entities with Import from File
Instead of repeating the creation wizard manually for each observed property, you can create the remaining sensors and datastreams using the Import from file function of the istSOS4 user interface.
From the map, right-click to open the context menu, then select Import from file.
Use the import template file available at the following link:
Download the import template file
Before importing the file, edit it and replace the Sensor and Datastream names with the identifiers of your group.
For example, if you are working with GROUP_010, make sure that the entities in the file use names consistent with your group identifier, such as:
INTERNAL_TEMPERATURE_GROUP_010INTERNAL_HUMIDITY_GROUP_010INTERNAL_PRESSURE_GROUP_010INTERNAL_LUX_GROUP_010EXTERNAL_WALL_TEMPERATURE_GROUP_010EXTERNAL_WATER_TEMPERATURE_GROUP_010SENSOR_BATTERY_GROUP_010
The same rule applies to the corresponding Sensor names: each Sensor must clearly refer to the same group identifier used by the Datastream.
The import file can be used to create the entities for the remaining observed properties:
internal:air:humidityinternal:pressureinternal:luxexternal:wall:temperatureexternal:water:temperaturesensor:battery
Each imported Datastream must still define the correct unitOfMeasurement, because the unit is stored as part of the Datastream configuration.
After selecting the file, the interface processes the import and displays a summary of the operation. The import preview shows which entities have been created and which entities already existed in the system.
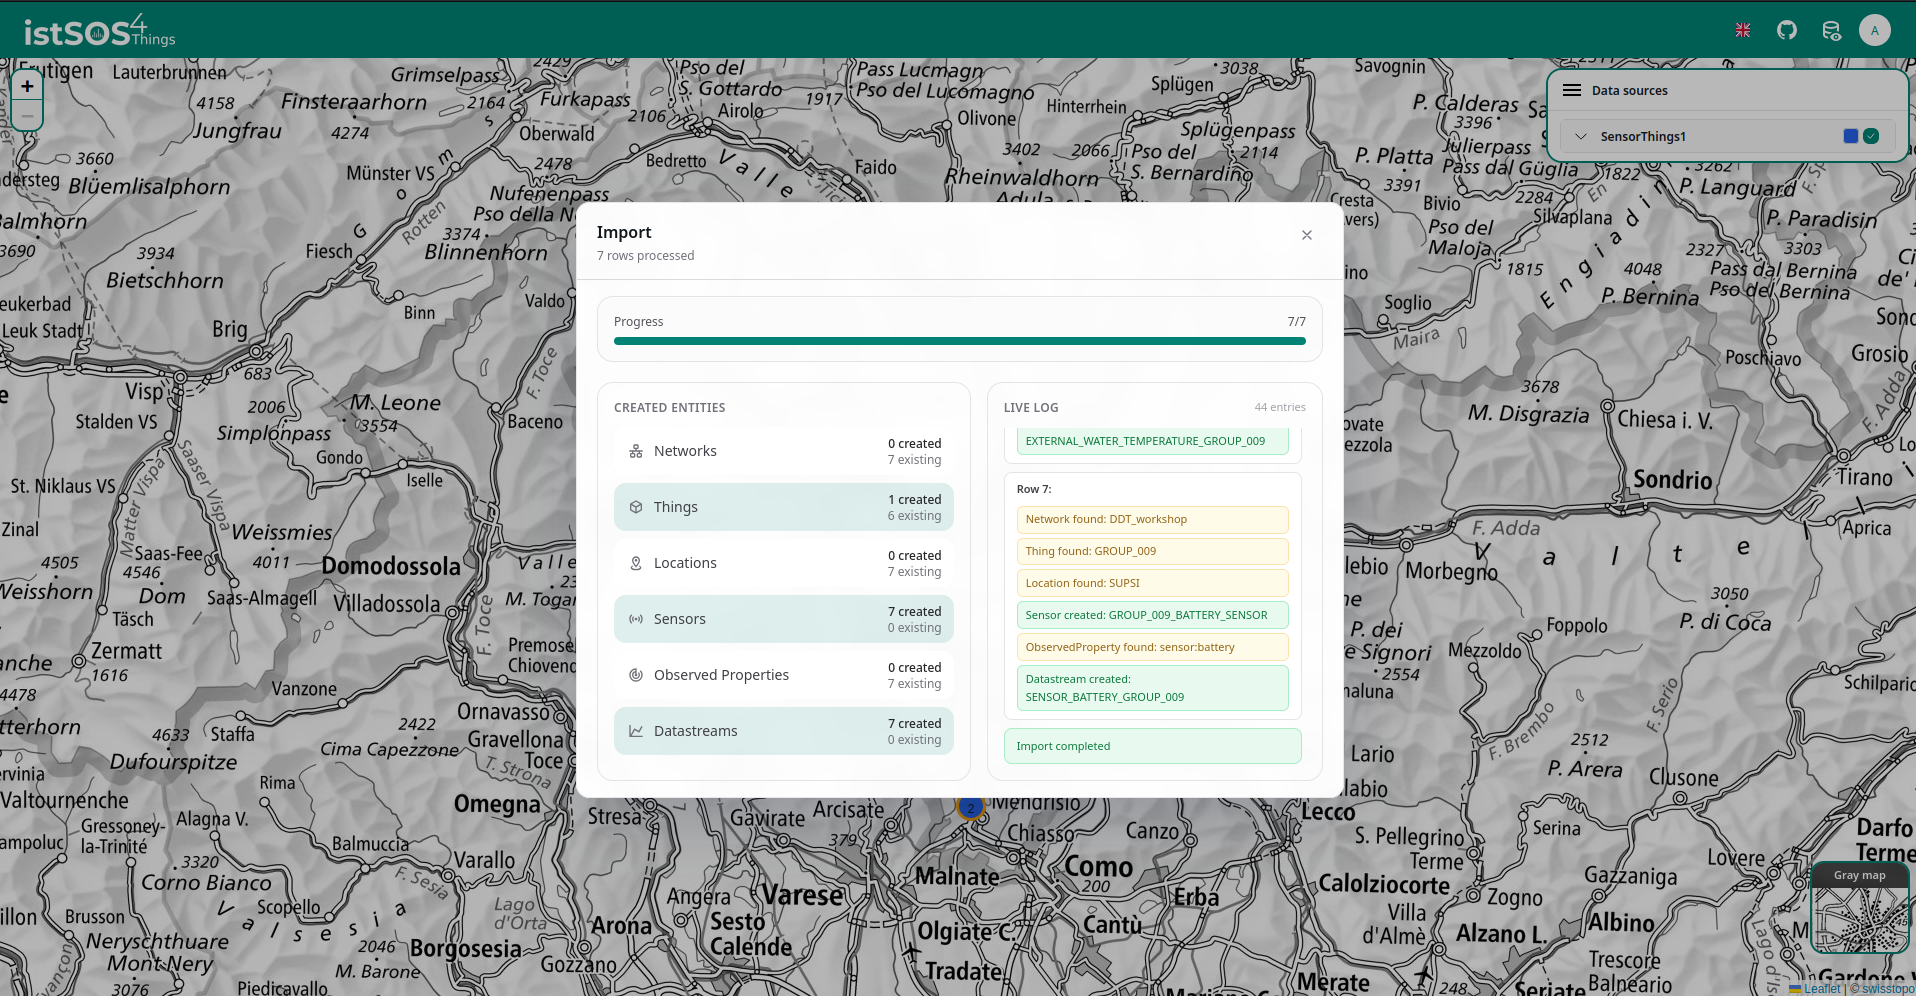
Use the summary to verify that all required entities have been created correctly. In particular, check the counts for Things, Sensors, Observed Properties, and Datastreams, and review the live log to confirm that the expected group-specific entities were imported.
After the import is complete, the sensor group is fully described in the system and ready to receive observations.
Power on the device and look at the data
- get a battery
- insert the battery paying attention to the polarity
- click the rest button (see Sensor node pinout) to start the device
- check for a white blink on the device, which indicates that the device is powered on and has successfully transmitted the observations to the server
- go to the user interface and check the Datastreams associated with the group you just configured, for example:
INTERNAL_TEMPERATURE_GROUP_010 - click on the Datastream to see the list of observations
- check that new observations are being added to the list in real-time as the device transmits data to the server